Showing posts with label saving money. Show all posts

Sunday, November 25, 2012

Shutterfly Fan: Helping to Spread the Love

Stationery card
View the entire collection of cards.


It is not a secret. I am a huge fan of Shutterfly. Each year a huge majority of presents to Aunts & Uncles, parents, grandparents, etc. are from Shutterfly. I have a family share site (yes mom I know it needs updating) and Jackie has a family share site (her's needs updating too). I love to order prints, calendars, mugs, magnets, and have been eyeing up the canvas print and the throw blanket. How neat would it be to have a blanket with your favorite photo of all time for each of the kids?

Why am I sharing this? Not a normal blog topic. Yeah. I know. But you know I like taking pictures and so does Jackie. Here is where we get the majority of them printed. I also took the plunge and ordered Christmas cards this year and got 10 FREE. I can't send them to everyone so I thought I would share it here as well. Isn't it lovely?

Special thanks to Jen & Byron for taking the awesome family photos of us. I feel just a little bit trendier now and sometimes that is OK. Why would you like Shutterfly? I think they offer GREAT deals at GREAT prices. Wait for the deals like I do. I won't buy without a very good deal. In in an effort for full disclosure. I get $10 dollars for sharing this with you that will go towards Nana and GiGi's Christmas presents. If you have a blog look into Shutterfly's "help spread the word" program and see if you can't get $10 for sharing your projects on your blog. Best of all it didn't hurt to share how I save money and get great gifts.

Happy shopping. Where ever you shop and for whatever you shop for.


Sunday, February 19, 2012

Refinished Vintage French Doors


These lovely, vintage doors came from a Craig's List find we excitedly jumped on during Christmas in 2008. Buying custom french doors would have cost $100's of dollars but these were perfect from the get go. They had layers and layers of paint caked on them. Huge chunks had chipped off but they were solid wood and just the right size for our tiny door way between the kitchen and the living room. We had also hoped they would help with our cold house issue by shutting the doors and keeping the living room warm with an electric heater. Thankfully we don't need the doors for that reason as much as we used to. 


These before pictures are from the night we picked them up. You can see our old floors, sub-floor living room floor, etc. We had a lot of work to do and still do honestly depending on how long we stay here. (I really can't wait for the kitchen color to change!!! It was supposed to be Adobe brown!... ugh!!)


The doors were later framed in and put up for our enjoyment for a while but we so decided they needed to come down and be either repainted or stained. Either would require the layers of paint already on the doors to be removed and smoothed out. The doors came down and stayed down for quite some time.


But Gary worked hard and finished them for me in time for baby boy number two! I love them. I don't even know what else to say about how happy I am to have them hung back up.


Wade likes them as well. He was thrilled to help daddy hang them and then practice opening and closing them.

For additional privacy we are debating on putting up curtains... which I am really torn about. They do lock though. All I can say is baby steps... you slowly, cheaply, work your way to your dream living space. Our attentions have turned to improvements for the outdoor green house and possibly another small shed for storage. Soon it will be growing season and we need to be ready!


Friday, January 13, 2012

Homemade Greek Style Yogurt (version 2)

I recently realized while going through the motions in my kitchen, making Greek style yogurt, that I have been keeping a secret from you.  That the way I make my yogurt has changed.  I had found new shortcuts and before I had time to tell you it became habit.  So yesterday while I was catching up in the kitchen, baking breads and cooking beans, I took a few photos of my latest gourmet shortcut to share.


Into three glass quart jars (you could use clean applesauce jars or even pickle jars) spoon two tablespoons of store bought yogurt into each jar.   Let the yogurt come to room temperature.


In a large stainless steel pot, allow three quarts of milk to come to room temperature.  Then heat the milk slightly until when test it with a finger, you can't feel it, hot or cold.  Body temperature, I guess.


Pour the warm milk into the jars.  Put a lid on each.  (The red funnel is part of a canning kit and makes filling almost any jar so easy.)


Find a helper and shake each jar to distribute the yogurt into the milk. 


Fill a cooler with bath temperature water.  Cram the jars into the cooler and shut the lid.


Set the cooler in a nice warm spot (mine is always on top of the freezer - this is also where I set bread to rise) and let it sit undisturbed for 24 hours.  I have found that letting the yogurt sit for longer makes a thicker yogurt.  Over Christmas when things were a bit hectic here, I accidentally left it for 48hrs.  It looked like curddled milk but after I strained it, it looked fine.  A tad bitter but fine.


Line a bowl with a clean pillowcase.  Pour the yogurt into the pillowcase.


Tie it up and let it drip until the volume is reduced by half.  Since I made three quarts of yogurt, I let it strain until I have collected a quart and a half.  This will leave you with one and a half creamy quarts of fresh yummy yogurt. Since it is almost identical in consistency to sour cream, it can be used cup for cup in traditional recipes. My husband and oldest son eat this stuff by the bucket, the bucket, I swear.  You should see their idea of a serving size.  I figure I'm saving some serious cash making the stuff myself.  We make ours plain and unsweetened but for a serving you can sweeten it up with a tablespoon of some homemade jam for a real treat.  


----------------------------------------------------------

P.S.  

In the kitchen I was fooling around with a new gluten free bread recipe.  Sandwich bread, breakfast bread.  No artificial binders or fillers.  So healthy, made with almond flour.  While almond flour is getting plenty of talk (and for good reason!) it is a bit expensive.  I ground my own in the Vitamix and after mixing was pleasantly surprised to pull this out of the oven....


Super rich and healthy... very substantial.  A bit much for the little ones but an awesome grain free bread for a grown-up breakfast.  Highly recommended!  

almond flour bread recipe from making love in the kitchen - meghan telpner

Wednesday, December 14, 2011

Handmade Baby Bow Tie

Yesterday, Jackie & I gathered at a dear friends house to enjoy movies (Water for Elephants specifically) and bake and eat Christmas cookies. Jackie had hinted at a homemade bow tie for Wade but I knew it might be hard on her already pressing schedule. She does so much! 

Well to my great surprise she was able to take an old tie and make this amazing and super cute bow tie for Wade to wear on Christmas Day
 (and to Christmas Eve church).


Look how AMAZING it looks with
Wade's Christmas outfit.

A bow tie for me?!


Look at those shining eyes. Learned that from Ashley Ann.

Mommy HAD to put me in my Christmas outfit. 

Thanks Aunt Jackie!

There isn't a step-by-step tutorial for this one because Jackie made it at like 1:00 A.M. but I do have the link Jackie used to make the bow tie.

Of course as with every project you improvise with your own skills and know how and with what you have. If you are dying to know how she made this baby bow tie please leave a comment. We love your comments no matter what of course!


Tuesday, December 13, 2011

Making Your Own Baby Doll Clothes


Before I had girls (when I only had three loud, crazy and constantly dirty little boys) I was sure that little girls and their intense love for all things pink and frilly was a learned thing.  And then came Eden.  As soon as she was talking she talked of babies.  As soon as she was walking she was pushing a buggy.   Then came Alette.  With Eden no longer the baby herself she watched me and learned how to carry her dolls on her hip and how to burp them over her shoulder.  Today Alette, while not a fan of pink or skirts as much as Eden, has an equal love for baby doll.  She is a bit more adventurous than her older sister and the dolls have seen the sandbox, the park and the unfortunate bottom of her brothers shoes.  Needless to say, the dolls clothes really tell the story, stained no matter how many washes or sun bleaching.  Every couple of months, I dig through clothes that the girls have outgrown and find some cute ones to make into doll clothes.  This time I converted one tshirt into a romper and one into a pink dress.  Can you guess which outfit is for which daughter? Here are the finals...

 Eden

Alette

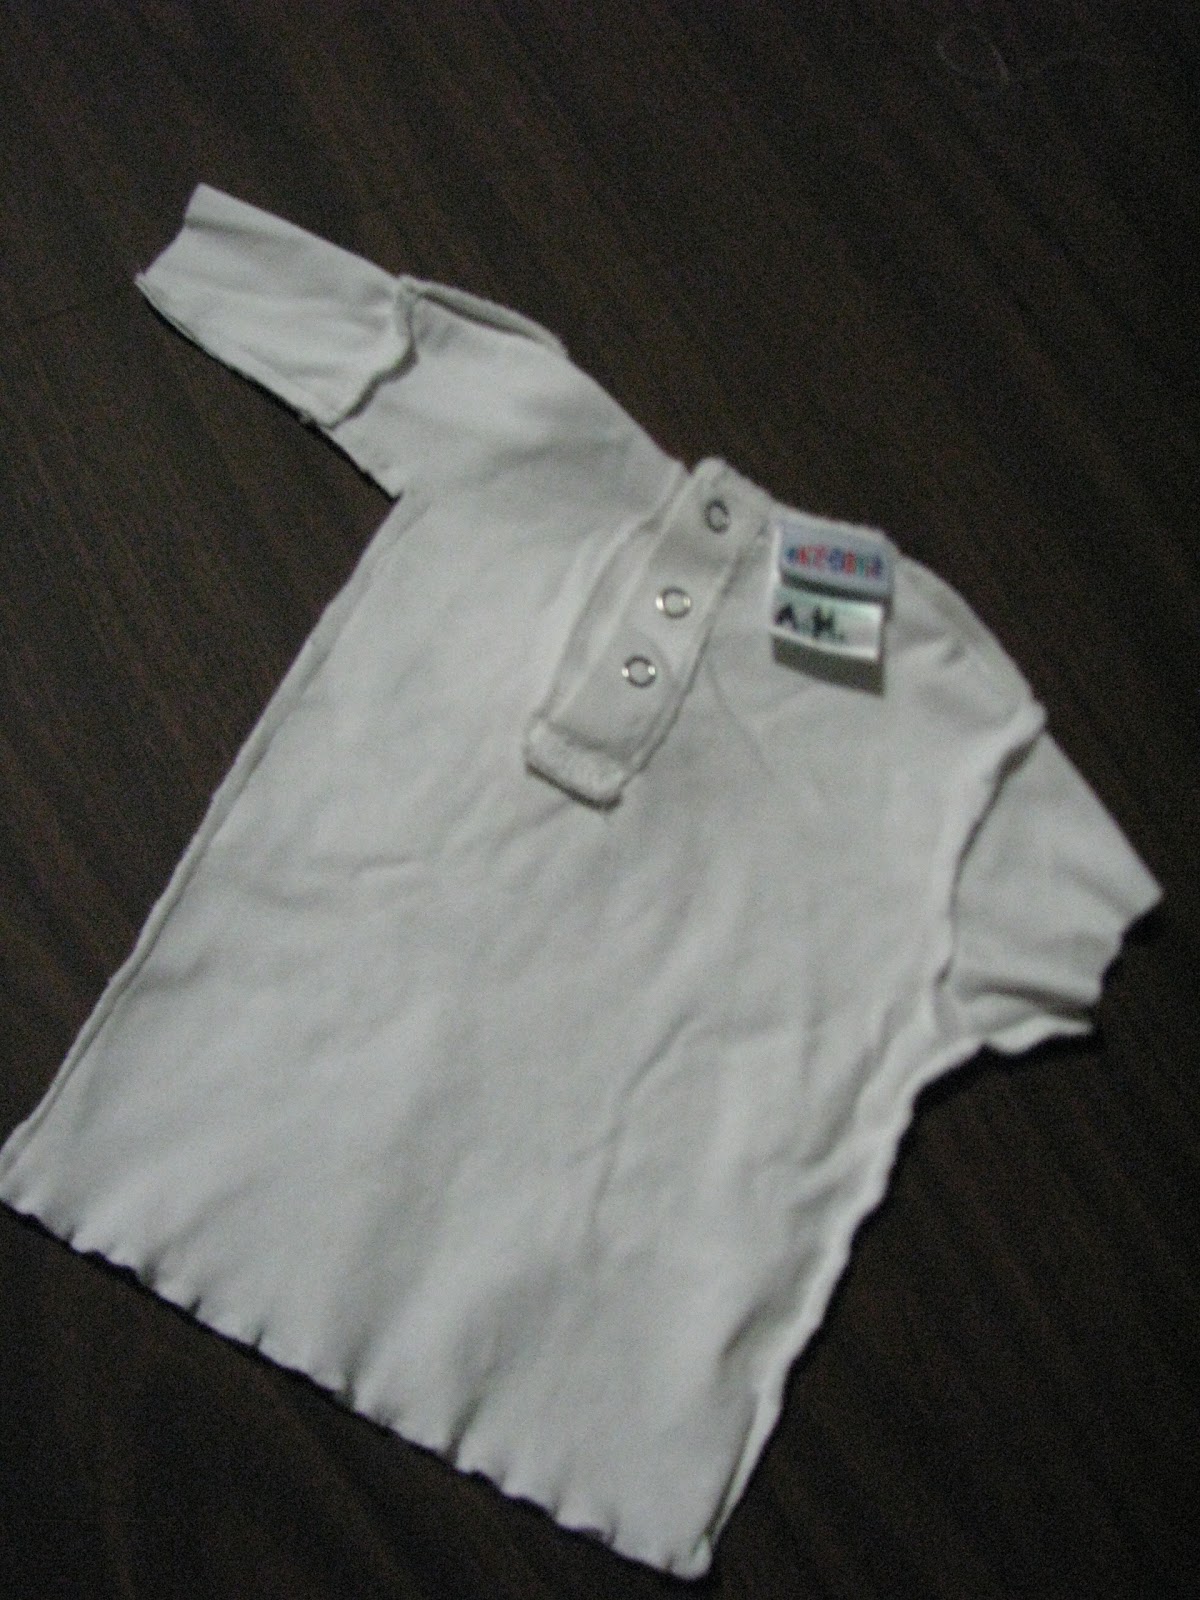
While this is pretty much a straight forward transformation and the pictures tell most of the story, I can give you a few hints to success.  First, choose shirts that button or snap around the neck.  Baby dolls have a big head and skinny neck so while a jersey fabric will stretch over their heads it may still be much too loose around their necks.  I used sizes 6-12 months for my 12 inch dolls.  If your dolls are larger, just look for bigger sizes.   Remember that short sleeved shirts will most likely fall to a doll's wrist, so no hemming and still a pretty finished look.   Also remember that this project is for an excited little girl.  Perfection need not be your goal, just being rewarded with big smiles and warm hugs. 

Measure where you want the sleeve to end and cut off the excess fabric.  You could hem the rough edge (and in some of my previous attempts I have) but didn't here.


Lay the doll on the shirt to see how wide you need the armhole and torso.  I eyeballed it. 


 Sew and cut off the extra fabric.  One side down one to go...


Sew an inseam.  Again I just guessed.


Cut out the u-shape and turn it right-side out.  All done?  Yup...


I chose this shirt because besides having an owl on it (her favorite - an "a-woo") the bottom was kind of ruffled so it didn't need to be hemmed.   And even though I didn't measure a thing it fits perfect.  Luck, people.  Pure stupid luck!


And when you have two little girls, you do everything double... This second one had to be a dress.  The neck on this shirt was huge!  I tuned it inside out and folded and stitched about an inch. Cut off extra fabric.  


After taking in the back, now the front of the dress was too big.  I decided to attempt pin tucks.  If you don't mind a seam down the front you can do the same as you did to the back. 


For the front seam, turn the dress inside out, like the seam in the back.  For the pin tucks, sew with the dress right side out.


Measure (guess) how long the doll's torso is, leave about an extra inch and then cut off the bottom of the shirt.  Save the left over fabric, this will become the skirt.


With the shirt inside out, stitch to create the arms and torso like the owl romper.  Cut off the excess fabric again and turn right side out to attach the skirt.  Since this was a short sleeved shirt, the length of the sleeve was fine, no cutting or hemming necessary.  Yay!


With the bottom of the shirt that you set aside in mind, decide how long you want the skirt to be and cut the skirt to that length plus a half inch more.  Baste a stitch and pull the thread and gather the skirt until the width of the skirt matches the width of the top.


Distribute the gathers evenly.  Sew the gathered skirt over the top, right side out.  Attaching the skirt this way  creates that sweet ruffle detail around the waist.


Eden and Alette are simply over the moon with their new baby doll clothes.  They are dreaming up new ideas for our next sewing session.  Who knows, if I can get a few free (after kiddie bedtime) minutes between now and Christmas, there may be a whole wardrobe of homemade doll clothes under our tree!



Tuesday, December 6, 2011

Christmas Decoration Hand-Me-Downs: Fixing Up An Old Wreath

Of the decorations I have in our little blue house, I would say maybe two items I truly purchased. My pencil Christmas tree about five years ago on sale for $50.00 and my nativity set for $10.00. The rest has been bought for me as gifts or handed down to me. I love the free items but at the same time it can be a challenge to have a cohesive style.

With this being the first year I have truly had the energy at Christmas time, I am putting some of that energy into make a "style" and trying to make a few of my own decorations. More on the homemade (if I am lucky) in the next couple weeks.

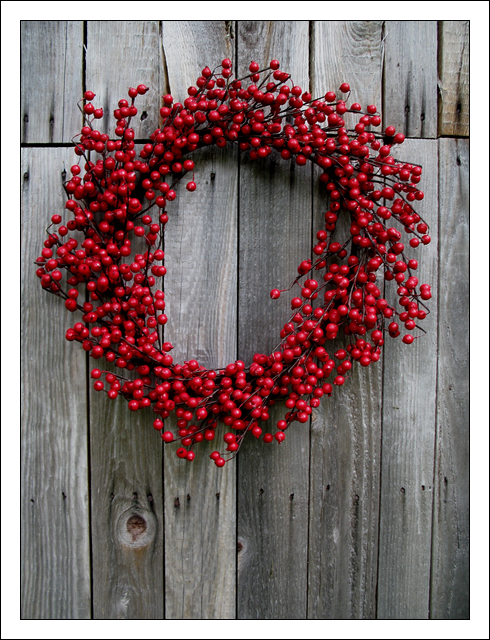
I LOVE wreaths. Really I do. I want one of those all red berry ones to hang on my front door but it never ever fails that the price of any wreath is just more than I can stand to pay. Aren't they just gorgeous though?!?


I was given a lovely wreath a couple Christmas's ago by my mother. It had belonged to her mother and needed a new home. I gladly accepted because I love the idea of keeping stuff in the family, not letting things get thrown out, and I knew I was too cheap to buy my own. It worked great for a couple years and each year I just tossed it back up into the attic without much regard of how tired it looked. 


Not bad really. Pretty. Good bones but lacking a fresh factor. I love the flowers and the gold (which is a minor accent in my house after black) but it definitely needed something. It was raining cats and dogs here this afternoon (again!) and the baby is under the weather so Gary spent sometime with Wade and I got some long overdue craft time in. The finished product turned out pretty well and it sure looks fresh and new. I think my mother and my grandmother would be very pleased. 


I didn't buy anything for the make over. I simply cracked open my shoe box of acrylic paints and paint brushes and I had some left over Christmas gold and red glitter paint from some Christmas gift project long ago. The extra pine cones came from the pines behind my house near the chicken coop that I picked up earlier in the fall. Now I can move on to making wreaths for the front and back door and decorations for my fairly un-decorated kitchen. It felt amazing though to finally get to something fun on my to do list. How is your Christmas decorating coming? Care to share any old, re-purposed, salvaged Christmas items or ideas you have?

Also, I want to remind you to join us on our Two Blue Houses Facebook page. We share other pictures and bits of information there that doesn't make it to the blog AND we would love to see your Christmas handmade pictures on our wall! 


Happy decorating! 

Related Posts Plugin for WordPress, Blogger...