
Before I had girls (when I only had three loud, crazy and constantly dirty little boys) I was sure that little girls and their intense love for all things pink and frilly was a learned thing. And then came Eden. As soon as she was talking she talked of babies. As soon as she was walking she was pushing a buggy. Then came Alette. With Eden no longer the baby herself she watched me and learned how to carry her dolls on her hip and how to burp them over her shoulder. Today Alette, while not a fan of pink or skirts as much as Eden, has an equal love for baby doll. She is a bit more adventurous than her older sister and the dolls have seen the sandbox, the park and the unfortunate bottom of her brothers shoes. Needless to say, the dolls clothes really tell the story, stained no matter how many washes or sun bleaching. Every couple of months, I dig through clothes that the girls have outgrown and find some cute ones to make into doll clothes. This time I converted one tshirt into a romper and one into a pink dress. Can you guess which outfit is for which daughter? Here are the finals...

Eden

Alette
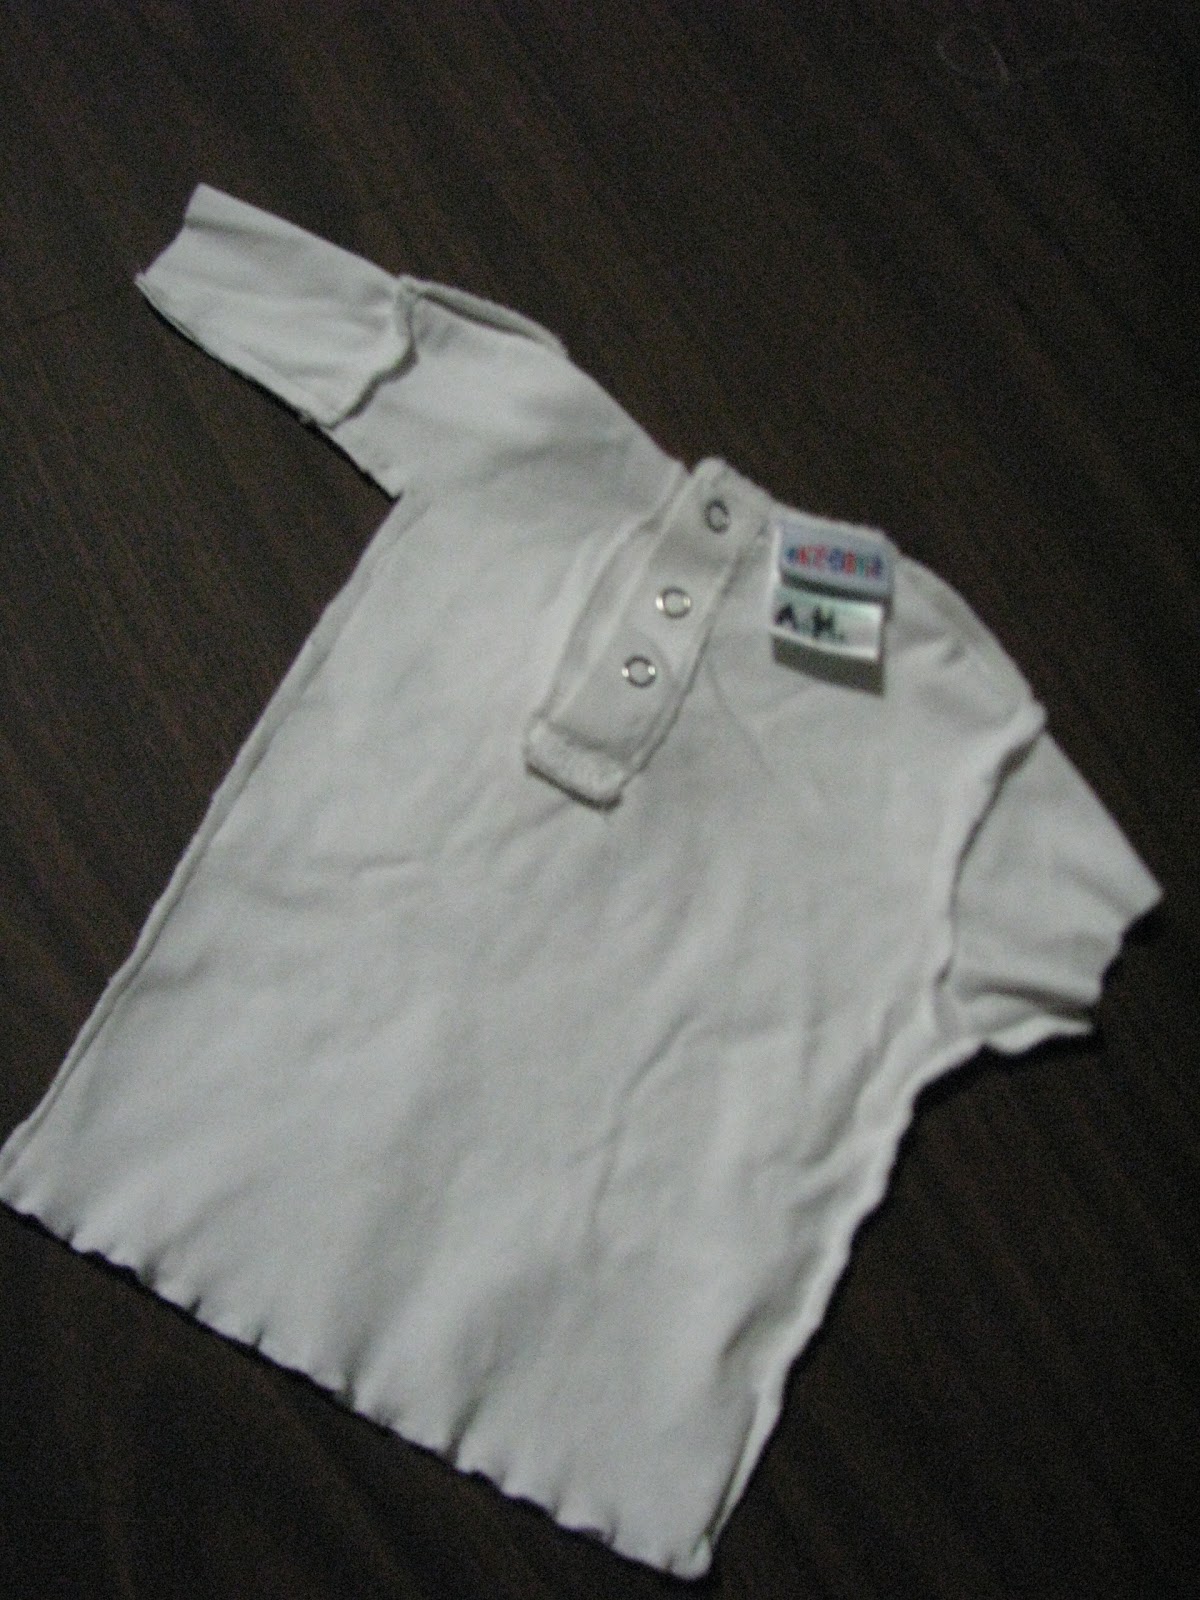
While this is pretty much a straight forward transformation and the pictures tell most of the story, I can give you a few hints to success. First, choose shirts that button or snap around the neck. Baby dolls have a big head and skinny neck so while a jersey fabric will stretch over their heads it may still be much too loose around their necks. I used sizes 6-12 months for my 12 inch dolls. If your dolls are larger, just look for bigger sizes. Remember that short sleeved shirts will most likely fall to a doll's wrist, so no hemming and still a pretty finished look. Also remember that this project is for an excited little girl. Perfection need not be your goal, just being rewarded with big smiles and warm hugs.
Measure where you want the sleeve to end and cut off the excess fabric. You could hem the rough edge (and in some of my previous attempts I have) but didn't here.

Lay the doll on the shirt to see how wide you need the armhole and torso. I eyeballed it.

Sew and cut off the extra fabric. One side down one to go...

Sew an inseam. Again I just guessed.

Cut out the u-shape and turn it right-side out. All done? Yup...

I chose this shirt because besides having an owl on it (her favorite - an "a-woo") the bottom was kind of ruffled so it didn't need to be hemmed. And even though I didn't measure a thing it fits perfect. Luck, people. Pure stupid luck!

And when you have two little girls, you do everything double... This second one had to be a dress. The neck on this shirt was huge! I tuned it inside out and folded and stitched about an inch. Cut off extra fabric.

After taking in the back, now the front of the dress was too big. I decided to attempt pin tucks. If you don't mind a seam down the front you can do the same as you did to the back.

For the front seam, turn the dress inside out, like the seam in the back. For the pin tucks, sew with the dress right side out.

Measure (guess) how long the doll's torso is, leave about an extra inch and then cut off the bottom of the shirt. Save the left over fabric, this will become the skirt.

With the shirt inside out, stitch to create the arms and torso like the owl romper. Cut off the excess fabric again and turn right side out to attach the skirt. Since this was a short sleeved shirt, the length of the sleeve was fine, no cutting or hemming necessary. Yay!

With the bottom of the shirt that you set aside in mind, decide how long you want the skirt to be and cut the skirt to that length plus a half inch more. Baste a stitch and pull the thread and gather the skirt until the width of the skirt matches the width of the top.

Distribute the gathers evenly. Sew the gathered skirt over the top, right side out. Attaching the skirt this way creates that sweet ruffle detail around the waist.

Eden and Alette are simply over the moon with their new baby doll clothes. They are dreaming up new ideas for our next sewing session. Who knows, if I can get a few free (after kiddie bedtime) minutes between now and Christmas, there may be a whole wardrobe of homemade doll clothes under our tree!

So Cute! I wish I had had you as an inspiration when my daughter was that age. Thanks for sharing. Margaret
ReplyDeleteMargaret so glad you stopped by!
ReplyDeleteHello,
ReplyDeleteNice collections of Doll Clothes. You have given some unique and useful information about the doll clothes. These clothes are really very attractive. There is a large selection of styles and colors to choose from...
18 Inch Doll Clothes