
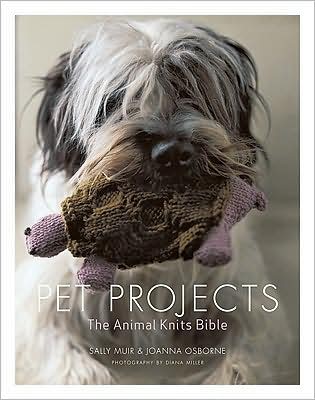
I can't tell you how many times I have checked out the lovely book Pet Projects from the library meaning to make something beautiful for the animals. I can't knit, but I can sort of sew. There are several projects in the book with human sweaters re-purposed into lovely dog coats and I was determined to make one. Granted it has taken me at least a year to get around to making one.
The majority of the instructions can be found on Martha Stewart's web site under Wool Cardigan Dog Coat. There is also a great video with author Joanna Osborne and Martha Stewart making the cardigan step-by-step. I ended up doing a few things differently so I will show you how I made my homemade dog sweater. I think now that I have made one sweater, following ones will take a lot less time, however this ended up stretching out for days because of all the other craziness going on. In summary, it wasn't just one, two, three like I thought it would be, but still a fun project.
Steps:
Steps:

1. Start with free sweater (I looked for a wool one to shrink but I couldn't find one). Cut off sleeves to make cap sleeves.

2. Cut off cuffs. My sweater cuffs are larger than the wool sweater in the video and example in the book (see links above). You will see what I did with them later on.

3. Turn inside out and try on your dog. Obviously this is very, very big on Lacey, my Wire Fox Terrier. I will have a lot of fabric to cut off once pinned and sewed.

4. I remove a 3 inch portion of the sweater above the bottom cuff and saved the cuff as well.

5. Leave sweater inside out and try on dog again. Now it is a better length (doesn't hang over her tail). I gather the bottom (from the front between the legs and under her belly) in safety pins making it fit the form of her body. She is a willing subject but I didn't want to stick her with straight pins as I pulled the sweater on and off. I also pin from the neck hole and down the shoulder and arm to make it "fit". You can see this clearly on the video.

6. Here is the sweater off but pinned. I would switch to straight pins before putting the sweater through your sewing machine. I know it is an extra step but safer for your machine. All fabric below the safety pins will get cut off.

7. Here is the sweater right side out starting to "fit". I have cut off the extra fabric

8. I have completed both arms and attached the cuffs to the arm holes with colorful embroidery thread. Let me tell you with the longer cuffs that was a MAJOR pain. No pictures of that step...
I keep the arm cuffs rolled up but they can be down for "long sleeves". I have used straight pins to attach the bottom cuff back to the sweater. I will use more embroidery thread to sew it back on.
I keep the arm cuffs rolled up but they can be down for "long sleeves". I have used straight pins to attach the bottom cuff back to the sweater. I will use more embroidery thread to sew it back on.

The finished sweater.

Another view of the finished sweater. See how it still hangs between her front legs a bit. I am going to sew that (taking it in) to make it fit better. I will add to the post once I do.

Close up of the stitching for the back cuff. Very handmade.

I dug in my bead box and found some crystal beads. They add a girly touch around the neck line.
Have fun making your sweaters! I can't wait to make more... although maybe it can wait until the new year.


