Showing posts with label sewing. Show all posts

Monday, April 30, 2012

A Bathroom Redecorated...

I'd gotten tired of my first floor bathroom.  You know, the one that does double duty as a pretty guest bath as well as a convenient place to rinse off sandy children.  It was too dark (red, tan and brown) and just worn out.  After painting the kitchen (post soon to come!) I had a new fresh color to work with.  So with only the cost of a new shower curtain I pulled together a new look.

the new shower curtain

After raiding a friends dilapidated barn with only a single glove and a wonder bar (awesome), I scored this crate.  In its not so distant past it was a nest box in a chicken coop.  Needless to say I scrubbed this thing until my arms almost fell off.  Then after some sanding and a coat of stain, I had a nice clean box.  At first I was going to throw it in the corner and pile it with clean towels but I had been looking for a cabinet to hang on the wall.  Could I mount the crate to the wall?


Definitely.  It's rustic and old fashioned.  And no matter how hard I try or how much I want to avoid it, that is the direction this house will always take.  Use what you have...

The next project was something to fill the opposite wall.  I love browsing prints and frames at stores but can never convince myself to buy any.  I'm addicted to originals.  I built this frame using old fencing and staples.   (My first solo radial arm saw project.  I was scared to death!)


Some paint and some stain to distress it and I was happy.  I had seen bloggers framing sticks and thought I would give it a try with some of my grape vine trimmings.


Another hit.  Wow, could this room be coming together so fast with really nothing but time invested?

The soap dish?  The the base of a planter.  Painted and stained.


The curtain?  Ruffles?  Me?  Hmm... not so sure if I'll keep this one but I'm trying it.  Just muslin and literally scraps I ripped off an old table cloth in the basement.  The only thing I do like is the unfinished look.


Keeping with the "bird" theme (nest box, shower curtain, twigs... see it now?) two brass birds with a coat of white spray paint.  So pretty perched on my mirror ledge.  


Homemade milk glass with upcycled food jars... think vanilla extract, grinder spices and artichoke hearts.


I'm pretty sure that I took about one hundred photos of this tiny room. That's about 95 too many even by my standards.  But in my defense I have been suffering with this room for years. So just a few more if you please...


(Ok, a remodel  for the price of a shower curtain AND a stack of fluffy new hand towels...)

Overall, I like it.  So much brighter and clean.  For a couple days every time I walked past the room I had to stop, turn on the lights and sigh.


A finished project.

One room down...


Saturday, December 17, 2011

Upcycled Homemade Dog Sweater


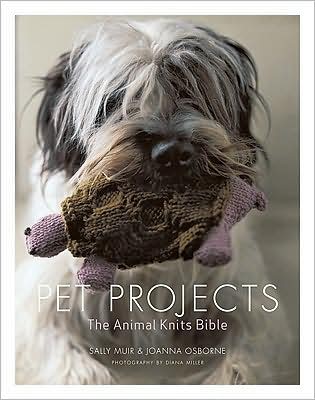
I can't tell you how many times I have checked out the lovely book Pet Projects from the library meaning to make something beautiful for the animals. I can't knit, but I can sort of sew. There are several projects in the book with human sweaters re-purposed into lovely dog coats and I was determined to make one. Granted it has taken me at least a year to get around to making one.  

The majority of the instructions can be found on Martha Stewart's web site under Wool Cardigan Dog Coat. There is also a great video with author Joanna Osborne and Martha Stewart making the cardigan step-by-step. I ended up doing a few things differently so I will show you how I made my homemade dog sweater. I think now that I have made one sweater, following ones will take a lot less time, however this ended up stretching out for days because of all the other craziness going on. In summary, it wasn't just one, two, three like I thought it would be, but still a fun project.

Steps:


1. Start with free sweater (I looked for a wool one to shrink but I couldn't find one). Cut off sleeves to make cap sleeves.


2. Cut off cuffs. My sweater cuffs are larger than the wool sweater in the video and example in the book (see links above). You will see what I did with them later on. 


3. Turn inside out and try on your dog. Obviously this is very, very big on Lacey, my Wire Fox Terrier. I will have a lot of fabric to cut off once pinned and sewed. 


4. I remove a 3 inch portion of the sweater above the bottom cuff and saved the cuff as well. 


5. Leave sweater inside out and try on dog again. Now it is a better length (doesn't hang over her tail). I gather the bottom (from the front between the legs and under her belly) in safety pins making it fit the form of her body. She is a willing subject but I didn't want to stick her with straight pins as I pulled the sweater on and off. I also pin from the neck hole and down the shoulder and arm to make it "fit". You can see this clearly on the video.


6. Here is the sweater off but pinned. I would switch to straight pins before putting the sweater through your sewing machine. I know it is an extra step but safer for your machine. All fabric below the safety pins will get cut off. 


7. Here is the sweater right side out starting to "fit". I have cut off the extra fabric 


8. I have completed both arms and attached the cuffs to the arm holes with colorful embroidery thread. Let me tell you with the longer cuffs that was a MAJOR pain. No pictures of that step...

I keep the arm cuffs rolled up but they can be down for "long sleeves". I have used straight pins to attach the bottom cuff back to the sweater. I will use more embroidery thread to sew it back on. 


The finished sweater.


Another view of the finished sweater. See how it still hangs between her front legs a bit. I am going to sew that (taking it in) to make it fit better. I will add to the post once I do. 


Close up of the stitching for the back cuff. Very handmade.


I dug in my bead box and found some crystal beads. They add a girly touch around the neck line. 


Have fun making your sweaters! I can't wait to make more... although maybe it can wait until the new year. 


Wednesday, December 14, 2011

Handmade Baby Bow Tie

Yesterday, Jackie & I gathered at a dear friends house to enjoy movies (Water for Elephants specifically) and bake and eat Christmas cookies. Jackie had hinted at a homemade bow tie for Wade but I knew it might be hard on her already pressing schedule. She does so much! 

Well to my great surprise she was able to take an old tie and make this amazing and super cute bow tie for Wade to wear on Christmas Day
 (and to Christmas Eve church).


Look how AMAZING it looks with
Wade's Christmas outfit.

A bow tie for me?!


Look at those shining eyes. Learned that from Ashley Ann.

Mommy HAD to put me in my Christmas outfit. 

Thanks Aunt Jackie!

There isn't a step-by-step tutorial for this one because Jackie made it at like 1:00 A.M. but I do have the link Jackie used to make the bow tie.

Of course as with every project you improvise with your own skills and know how and with what you have. If you are dying to know how she made this baby bow tie please leave a comment. We love your comments no matter what of course!


Tuesday, December 13, 2011

Making Your Own Baby Doll Clothes


Before I had girls (when I only had three loud, crazy and constantly dirty little boys) I was sure that little girls and their intense love for all things pink and frilly was a learned thing.  And then came Eden.  As soon as she was talking she talked of babies.  As soon as she was walking she was pushing a buggy.   Then came Alette.  With Eden no longer the baby herself she watched me and learned how to carry her dolls on her hip and how to burp them over her shoulder.  Today Alette, while not a fan of pink or skirts as much as Eden, has an equal love for baby doll.  She is a bit more adventurous than her older sister and the dolls have seen the sandbox, the park and the unfortunate bottom of her brothers shoes.  Needless to say, the dolls clothes really tell the story, stained no matter how many washes or sun bleaching.  Every couple of months, I dig through clothes that the girls have outgrown and find some cute ones to make into doll clothes.  This time I converted one tshirt into a romper and one into a pink dress.  Can you guess which outfit is for which daughter? Here are the finals...

 Eden

Alette

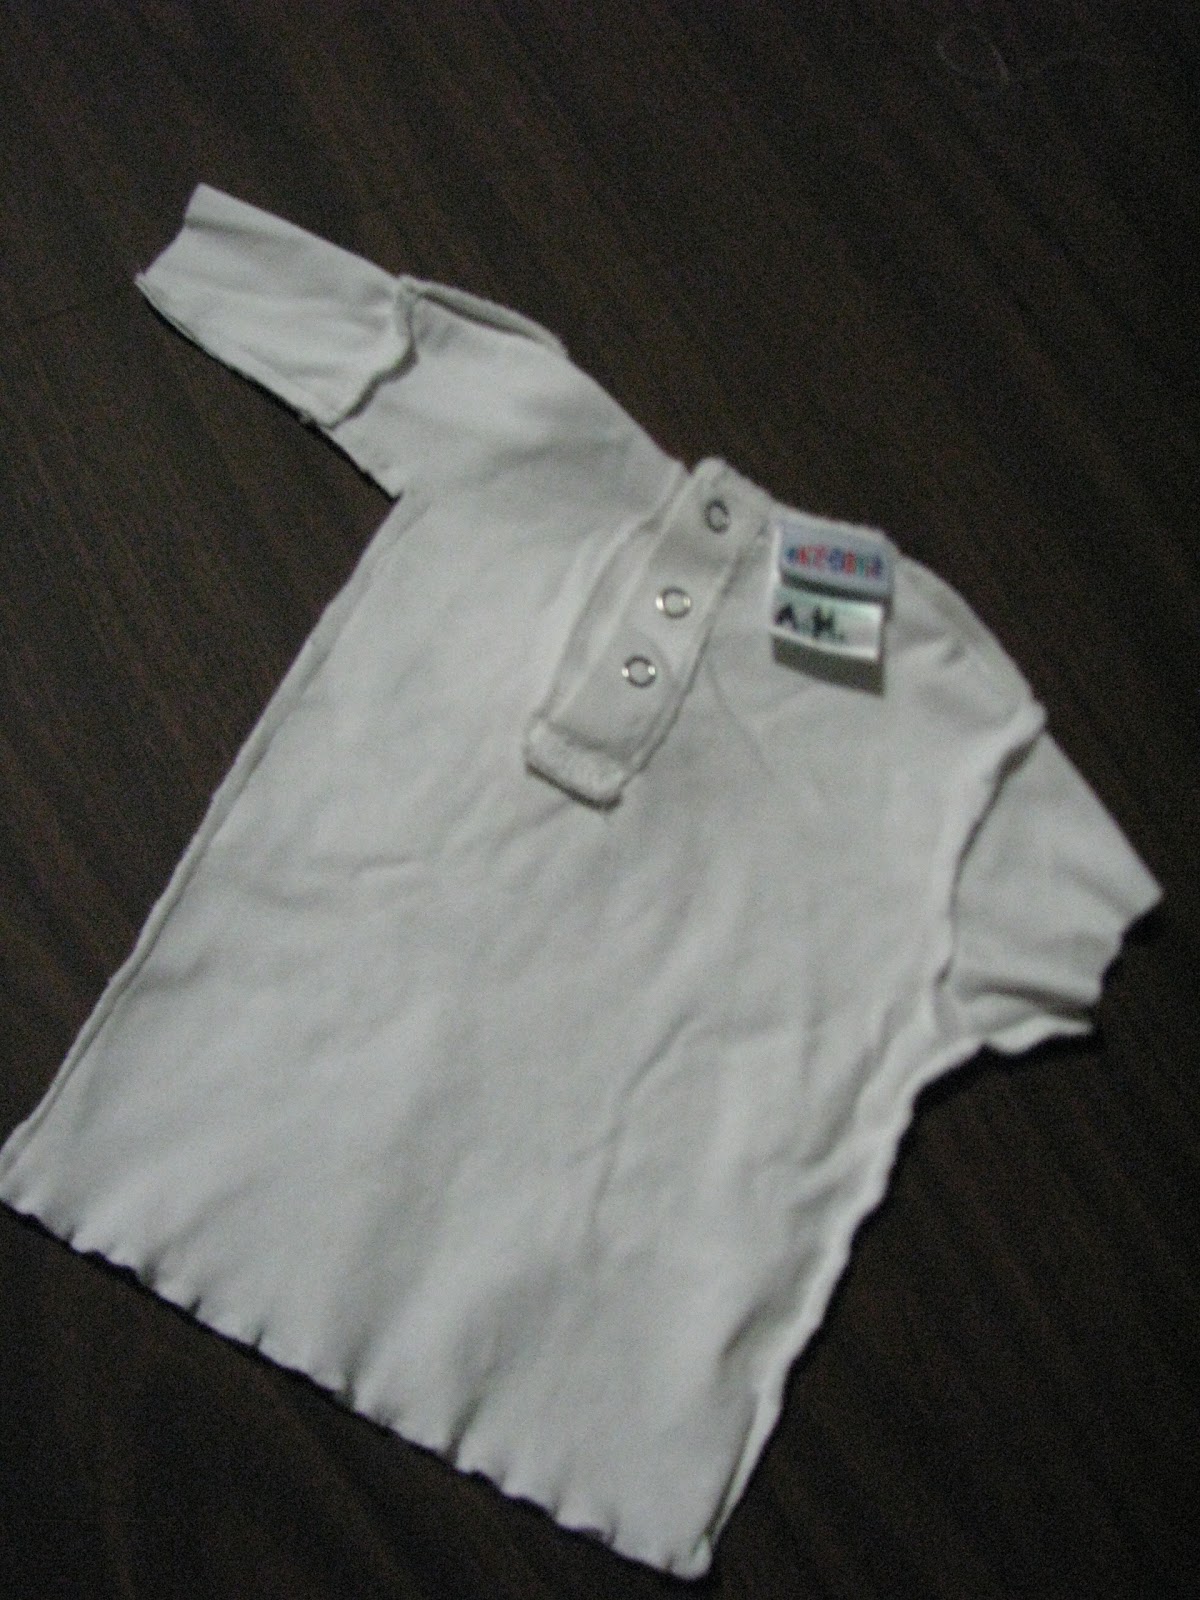
While this is pretty much a straight forward transformation and the pictures tell most of the story, I can give you a few hints to success.  First, choose shirts that button or snap around the neck.  Baby dolls have a big head and skinny neck so while a jersey fabric will stretch over their heads it may still be much too loose around their necks.  I used sizes 6-12 months for my 12 inch dolls.  If your dolls are larger, just look for bigger sizes.   Remember that short sleeved shirts will most likely fall to a doll's wrist, so no hemming and still a pretty finished look.   Also remember that this project is for an excited little girl.  Perfection need not be your goal, just being rewarded with big smiles and warm hugs. 

Measure where you want the sleeve to end and cut off the excess fabric.  You could hem the rough edge (and in some of my previous attempts I have) but didn't here.


Lay the doll on the shirt to see how wide you need the armhole and torso.  I eyeballed it. 


 Sew and cut off the extra fabric.  One side down one to go...


Sew an inseam.  Again I just guessed.


Cut out the u-shape and turn it right-side out.  All done?  Yup...


I chose this shirt because besides having an owl on it (her favorite - an "a-woo") the bottom was kind of ruffled so it didn't need to be hemmed.   And even though I didn't measure a thing it fits perfect.  Luck, people.  Pure stupid luck!


And when you have two little girls, you do everything double... This second one had to be a dress.  The neck on this shirt was huge!  I tuned it inside out and folded and stitched about an inch. Cut off extra fabric.  


After taking in the back, now the front of the dress was too big.  I decided to attempt pin tucks.  If you don't mind a seam down the front you can do the same as you did to the back. 


For the front seam, turn the dress inside out, like the seam in the back.  For the pin tucks, sew with the dress right side out.


Measure (guess) how long the doll's torso is, leave about an extra inch and then cut off the bottom of the shirt.  Save the left over fabric, this will become the skirt.


With the shirt inside out, stitch to create the arms and torso like the owl romper.  Cut off the excess fabric again and turn right side out to attach the skirt.  Since this was a short sleeved shirt, the length of the sleeve was fine, no cutting or hemming necessary.  Yay!


With the bottom of the shirt that you set aside in mind, decide how long you want the skirt to be and cut the skirt to that length plus a half inch more.  Baste a stitch and pull the thread and gather the skirt until the width of the skirt matches the width of the top.


Distribute the gathers evenly.  Sew the gathered skirt over the top, right side out.  Attaching the skirt this way  creates that sweet ruffle detail around the waist.


Eden and Alette are simply over the moon with their new baby doll clothes.  They are dreaming up new ideas for our next sewing session.  Who knows, if I can get a few free (after kiddie bedtime) minutes between now and Christmas, there may be a whole wardrobe of homemade doll clothes under our tree!


Related Posts Plugin for WordPress, Blogger...